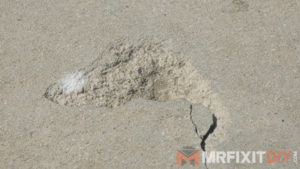
 Concrete is a very common building material but it’s also known to chip out or
crack. It can chip out for a number of reasons but once it does, it can create
a much bigger problem. Today I’m going to show you how to fix concrete chips in case you have something similar around your home. This will also work for sidewalks, and patio slabs as well.
Disclosure: This video and article contains a paid product integration by ZEP USA. All views and opinions expressed herein are my own.
Cleaning the Chipped Area
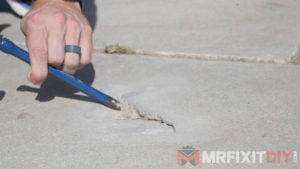 This chip is a medium sized chip and is about 6” wide, and about an inch deep.
So the first thing we need to do is clean out the chip of any debris or loose chunks. Start by breaking out the loose chunks with a chisel or other tool like a screwdriver.
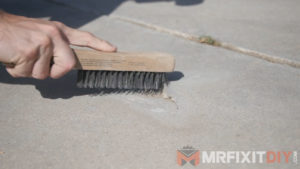 Once you have any loose chunks removed, use a wire brush to loosen up any debris and dirt that have built up over time. Getting the surface of the chipped out area clean is the most important part of this project. You need to make sure your new patch can firmly adhere to the old concrete.
Once you have the loose material removed from the chip, you’ll need to use a concrete cleaning product like Zep’s Driveway and Concrete Pressure Wash Concentrate.
 This Concrete and Driveway cleaner is perfect for this application because it is a concentrated concrete cleaner that easily removes tire marks, dirt, grease, and oil from any concrete, brick, or asphalt surfaces. For a small chip, you can apply a small amount of the concentrated cleaner to a container of water at the mixture indicated on the bottle. Or you can do what I
 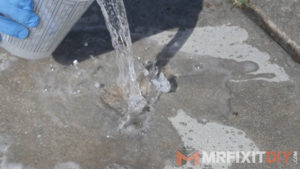 did and take the opportunity to add a diluted mixture to a pressure washer and just clean your whole driveway. Pay careful attention to the chipped out areas and make sure you thoroughly clean them.
Apply Concrete Patching
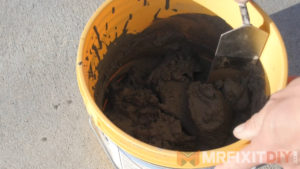 Once the chipped out area has had some time to dry, next you’ll need to get a small
amount of a concrete vinyl patching compound like this one. These are available off the shelf at your local big box store and are super easy to use. Simply add a small
amount of water to the powdered mixture. Then mix it up until you have a peanut
butter like consistency, and apply it to the chipped out area with a masonry or
disposable trowel.
 You can feather out the surrounding area to match the existing
concrete. For corner chips or areas next to expansion joints, you may have to take a little extra time to form the patch to follow the existing contours. Once the compound has set up for about 20 minutes, use a grouting sponge and some water to clean any excess patching compound from around the patched area and create a seamless patch.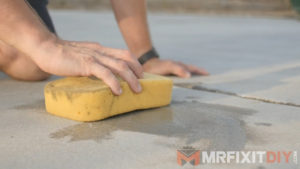 For deep or large chips, you may have to apply several coats of the patching
compound to fill the void. And if the area around your chip is heaved, you may need
to do some additional steps of flattening that area using an angle grinder and a diamond grinding wheel.
So that’s it for this episode of Home School’d. I hope you guys enjoyed it and I hope
you learned something. If you’re interested in purchasing any of the products I used
in this video, links to all the tools and materials can be found in the description
below. I also have tips on how to fix a crack in concrete, so check that out here.
Thank you guys so much for checking out this post. For more outdoor projects, click on some of the links below.
Find the Right Pressure Washer for you!


