As part of my recent backyard renovation, I chose to install sod to add a nice lawn area in the backyard. So today I’m going to show you all the steps required to install sod at your home.
Sod is a popular option in many renovations because it gives you the option of having an instant green lawn without going through the long process of seeding and growing a lawn. This project isn’t too difficult, but it is a bit labor intensive depending on the state and size of your project area.
#1: Preparing the Area
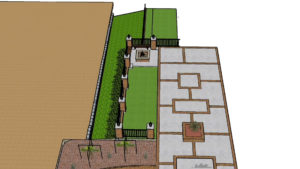 I am starting with a newly created area that I added with the construction of some retaining walls. The first step was to add fill dirt to the area. Then I could compact it to minimize settling.
If you are replacing a current lawn, your first step will be to kill the existing lawn and remove it. Don’t install sod over existing grass because the existing lawn will decompose underneath and heat up killing the sod above.
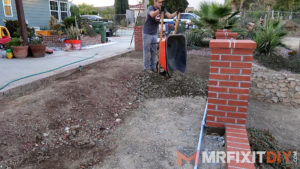 Once you’ve killed and removed the existing lawn, you can then use a rototiller to prep the area and loosen the existing soil. In my case, I brought the grade up using basic fill dirt. Then I added a few inches of top soil to bring it up to the grade that I needed.
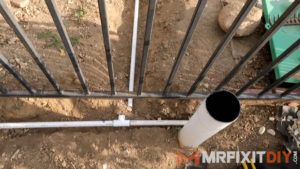 You’ll also need to make sure you have irrigation installed in the sod area. This is crucial if you’re living in a dry climate. Sod requires regular watering to successfully root so having an irrigation system or regular watering schedule is necessary for success.
You’ll need to make sure your irrigation system has head-to-head coverage so that your sod is fully watered. If you’d like some tips on how to install a sprinkler system, I’ll walk you through the process here.
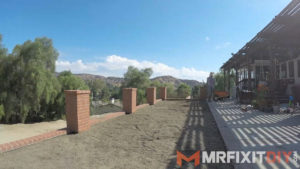 From there, use a large rake to fine grade the area. Depending on the sod you choose, you’ll want to make sure the finished grade is that thickness below any walkways or driveways. In my case, the finished grade is ½” below the surrounding patio. Apply a sod starter fertilizer/seed starter over the area and then use a roller to settle and firm the surface.
#2: Installing the Sod
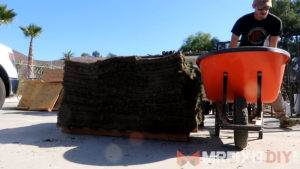 Measure the area you’ll be installing and order your sod. Many sod distributors can deliver same day or next day and once it arrives, begin installing it immediately as it needs to be installed before drying out and wilting in the sun. Make sure you have the day set aside to tackle the project in one go when deciding when to have the sod delivered if you’re having it delivered.
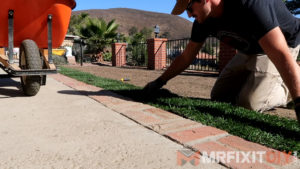 In this case, I’m installing a Marathon II sod which is dense, durable, and quick to recover. I recommend finding a sod dealer in your area that can help you choose which sod is best for your application and climate. Sod pricing can vary greatly depending on your area, so do some research on expected pricing for your area.
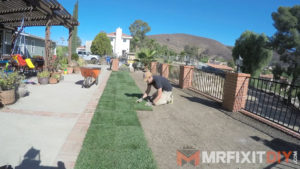 The sod arrives on a pallet and in strips. Start by laying the sod along the longest edge or boundary first and stagger each new row in a brick like pattern. Cut the sod around any obstacles or edges with a large knife or spade shovel. I found using a drywall knife actually worked pretty well. You just have to clean it well afterwards.
Make sure you’re bumping the edges of each piece of sod tightly to those around it and water lightly once you’ve installed every 200sq ft of sod.
#3: Preparing the Sod to Last
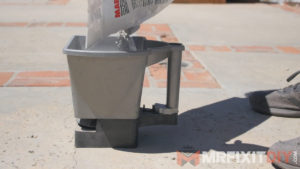 Once you’ve covered the entire area, use the roller to roll the entire area and insure solid contact between the sod and the soil beneath.
Next turn on the sprinkler system and let it run until the sod is good and soaked. Check the recommended guidelines for watering schedule of your chosen side. In my case, I watered 3 times a day for the first week, and then scale back to twice a day for the rest of the month. Once established, I scaled it back further to a couple times a week. Try to water as early in the morning as possible but not before 4am.
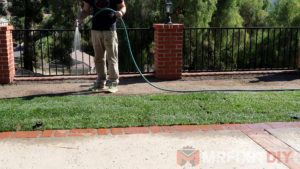 Even though it may seem early, make sure you cut the sod a week after installation or once it reaches around 3”-3.5” tall and fertilize it once a month thereafter for best results. And that’s it, you’re done with your project.
I hope you guys enjoyed this project and I hope you learned something. Installing sod can be a bit labor intensive but installing it is definitely something most homeowners can tackle on their own.
Thanks for stopping by, and I’ll see you next time!




[…] How to Install Sod […]
Comments are closed.