The outdoor water spigot hasn’t changed much in about 100 years since the advent of indoor plumbing. They’re typically made of brass and look something like this.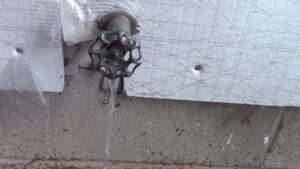
There are a few problems with them. They protrude outside the house and in freezing climates, they can be difficult to drain. This can cause them to freeze or break in the winter. It’s also common for your hose to leak around them when you thread it on which can get a little annoying.
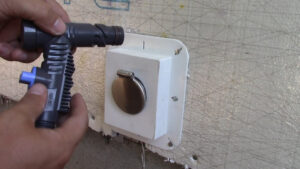 Today I’m going to show you how to install a sleek new modern take on the water spigot. It’s called the house hydrant from Aquor Water Systems.
Disclosure: This post contains a paid product integration from Aquor Water Systems. All views and opinions expressed herein are my own.
Adding a New Shutoff Valve
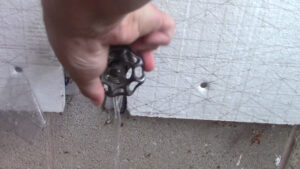 The first step is to shut off the water to the line. There’s no shutoff valve on this one, so I have to shut the water off at the main line. I’ll be adding a new shutoff later on.
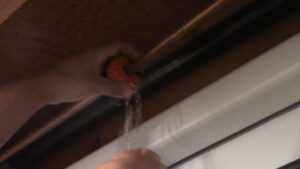 Next, open up the valve and drain off any water remaining in the line. From there, use a pipe cutter to cut the supply line in the area you’re working on. The exact location isn’t super important for this. I just want to make sure I cut it back far enough that I have the ability to work.
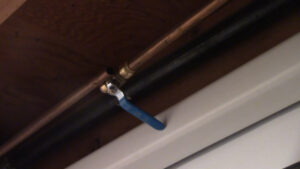 From there, slide on a new shutoff valve for the water line for the new hose bib. These sharkbite fittings make it super DIY friendly. They just slide right over the existing copper water lines and snap in place. You could shut the valve here and turn the water on for the rest of the house if you want, but I’m leaving it off for the time being.
Preparing for Installation
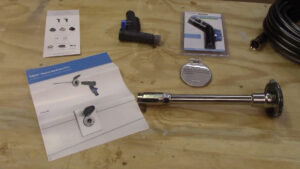 Next, let’s take a look at the components that come with the new house hydrant. Full disclosure, Aquor did send me this house hydrant to install and review. After I came across their product online, I reached out to them to test it out.
The box comes with mounting instructions, an accessory book, a removable faucet, cover plate, and the house hydrant itself. Aquor also supplied me with a chrome cover plate, a separate removable faucet, and a hose.
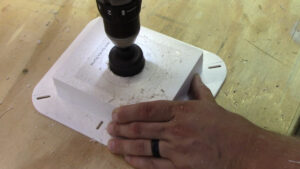 First, I’m going to install a mounting block to the side of the house. This is recommended by the manufacturer to ensure we have a 90 degree mounting surface. Before I can install it, I’m adding a small piece of 2×6 inside the block to act as a backer. Then I mock up the mounting location sticker and pre-drill the block with the hole saw.
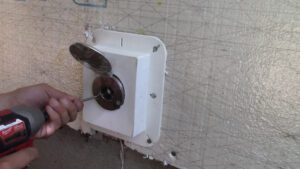 In this case, I want to move the location up slightly from where the old water spigot was. This gives me more room to install siding around it later on. It will still pass through the rim joists and into the basement on this house. I mock up the new location for the block and use a 1 ½” hole saw on my drill to drill out the hole. Once the hole is drilled, I’m using some roofing nails to hold the mount in place.
Installing the House Hydrant
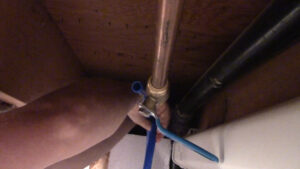 Next, I go back inside and mount a small piece of pex piping to the newly installed shutoff valve. Then I feed it so it reaches out the hole. Aquor actually recommends a little extra piping. It’ll allow me to easily remove the hose bib later if I ever need to do any service or maintenance on it.
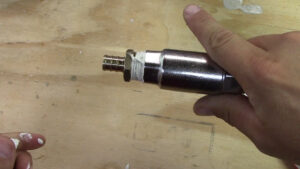 From there I’m adding a threaded pex adapter to the end of the house hydrant using some thread tape and pipe thread compound. I’ll use a pex clamp tool and a clamp to secure the house hydrant to the new pex line. Then, slide it back into the wall and install it with the mounting screws.
 The last thing to do is turn the water back on, check for any leaks, and test it out. What’s cool about this product is that the handle goes right into the wall and threads into place. I should mention that it does take some getting used to to ensure the handle is seated properly before twisting into place. Once you’re done, remove the handle. The excess water drains from the line so you never have to worry about it freezing. The cap also covers it up, so it looks relatively seamless for next time.
Project Complete!
 So that’s it for this modernized version of a water spigot! I hope you enjoyed it and I hope you learned something new. Or, maybe it introduced you to a new product that you maybe weren’t aware of. I want to say a quick thank you to Aquor Water Systems for sending over this house hydrant for me to install. If you’re interested in checking it out and seeing all the options, here to visit their site.
And if you enjoyed this project, then you just might love these as well:
How to Install a Sprinkler System
5 DIY Plumbing Tools Everyone Should Own
Thanks for stopping by, and I’ll see you next time!


